A Complete Guide on How to Build a Website in Webflow

11minutes read
how to make webflow webdite

A website is often your first and most impactful point of contact with the world. It's your digital storefront, portfolio, platform for expression, and your connection to a global audience. If you've ever dreamt of building a website that looks fantastic and functions seamlessly, you're in the right place. Today, we’ll discuss all the crucial information on how to build a website in Webflow. Professional designers and complete beginners choose Webflow for its convenience, speed, and powerful tools. Besides, Webflow has 3,5 million users worldwide. Let's see how to craft websites that captivate, engage, and leave a lasting impression on your visitors. Keep reading!

Webflow Overview

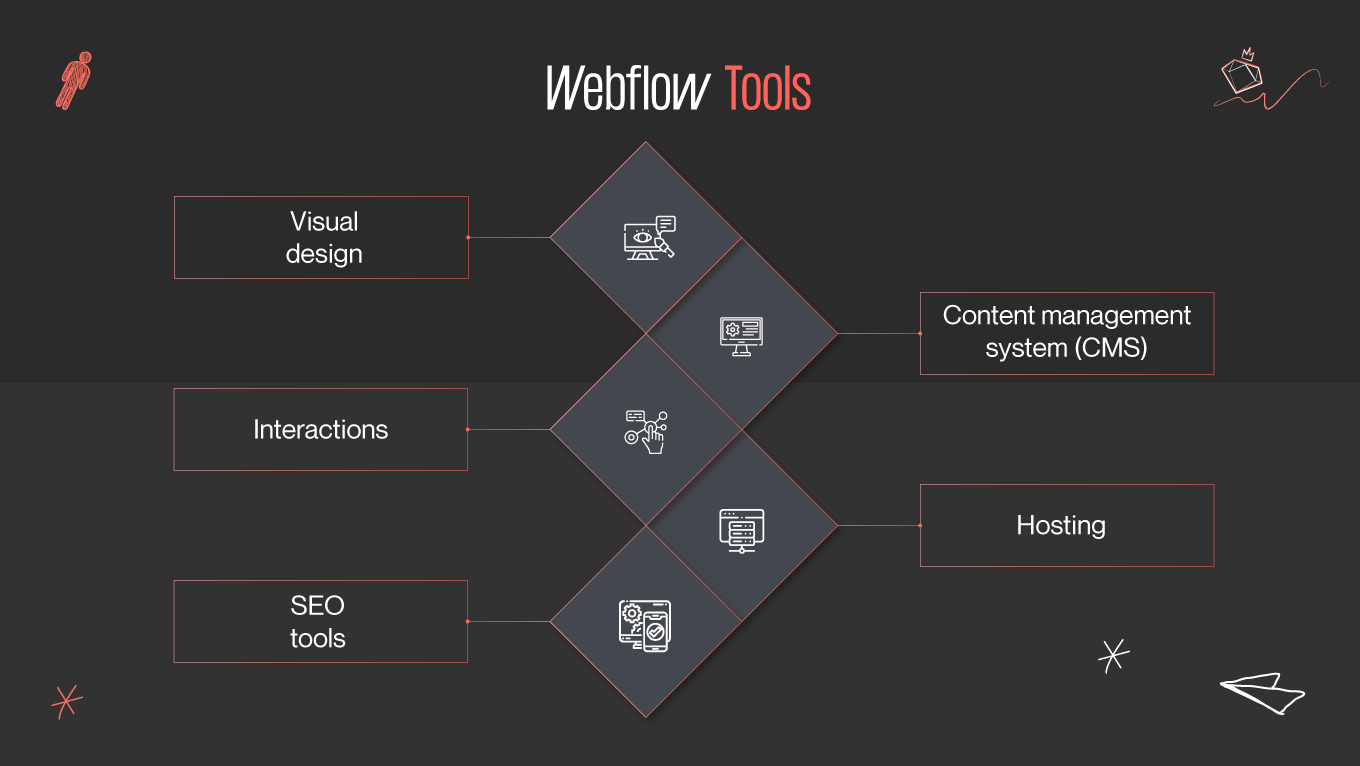
Webflow is a web design and development platform that allows users to design, build, and launch websites visually without needing to write code. It combines the capabilities of a website builder and a content management system (CMS), focusing on providing designers and developers with a more flexible and collaborative web development environment. Webflow has various tools to facilitate the website-creating process. Here’s the most essential:

essential webflow tools
webflow tools to create a website
  • Visual design. Webflow's web design interface allows you to create page layouts, add elements (text, images, forms, buttons, etc.), and customize their appearance using a drag-and-drop approach. You can see real-time previews of your changes as you design.
  • Content management system (CMS). Webflow includes a built-in CMS that lets you define custom content structures, create and manage dynamic content, and set up content relationships. It is a helpful tool for blogs, portfolios, and e-commerce websites.
  • Interactions. The Webflow’s interactions and animations builder allows you to create custom animations and interactive elements for your website without coding. You can add animations to features based on various triggers and conditions.
  • Hosting. Webflow offers web hosting services, allowing you to publish your websites directly to the web using their hosting infrastructure. You can also connect custom domains to your Webflow projects.
  • SEO tools. Webflow provides tools for optimizing your website for search engines and integrating with popular analytics platforms to track visitor data and site performance.

Want to create a website in Webflow?

Gapsy Studio will gladly help you with it! Press the button and we will contact you.

How to Build a Webflow Site? A Step-by-Step Process

Webflow’s scope will cover all your needs when creating a website. So, how do you create a Webflow website? Let’s go over the main aspects of this process.

Create a Webflow account

Webflow offers you a free Starter account to begin with. This opportunity gives you many free templates with a range of design tools. It’s a perfect option if you just started getting into Webflow development capabilities. A starter account is excellent for entry-level sites. It offers a 2-page website, 50 CMS items, and limited traffic with 50 GB bandwidth. 

Webflow’s most popular site plan is the CMS plan. It’s a more advanced plan most suitable for more prominent websites like blogs or other content-driven pages. The feature package is significantly broader than in the Starter account. CMS site plan provides a 150-page website, 2k CMS items, three content editors, and more.

Decide on the content

Deciding on the content for your website in Webflow is a crucial step in the web design and development process. Content is what informs, engages, and converts your website visitors. Structure the information you want to put on your site before doing it. Plan out the quantity of your content. It’s better not to load a web page with much info, whether text or media content. 

Determine your website’s primary purpose (e-commerce, portfolio, blog, etc.). Set clear goals for what you want to achieve with your website. It can be generating leads, selling a product, or providing information. When building a website in Webflow, you must understand your target audience. What are their demographics, interests, and needs? Conduct thorough research so that you can tailor content to resonate with your end-users. 

There are many content types. It’s essential to decide on what you want to show. It can include text, images, videos, testimonials, and more. You can add a blog section, depending on your website’s purpose. Moreover, having a blog on your website leads to 55% more visitors, so learn how to create a blog in Webflow.

Choose a template or a blank canvas

When you create a website with Webflow, you can start your web design project with a template or a blank canvas. Each approach has advantages and considerations, depending on your needs and preferences. Let’s look at them.

Template advantages

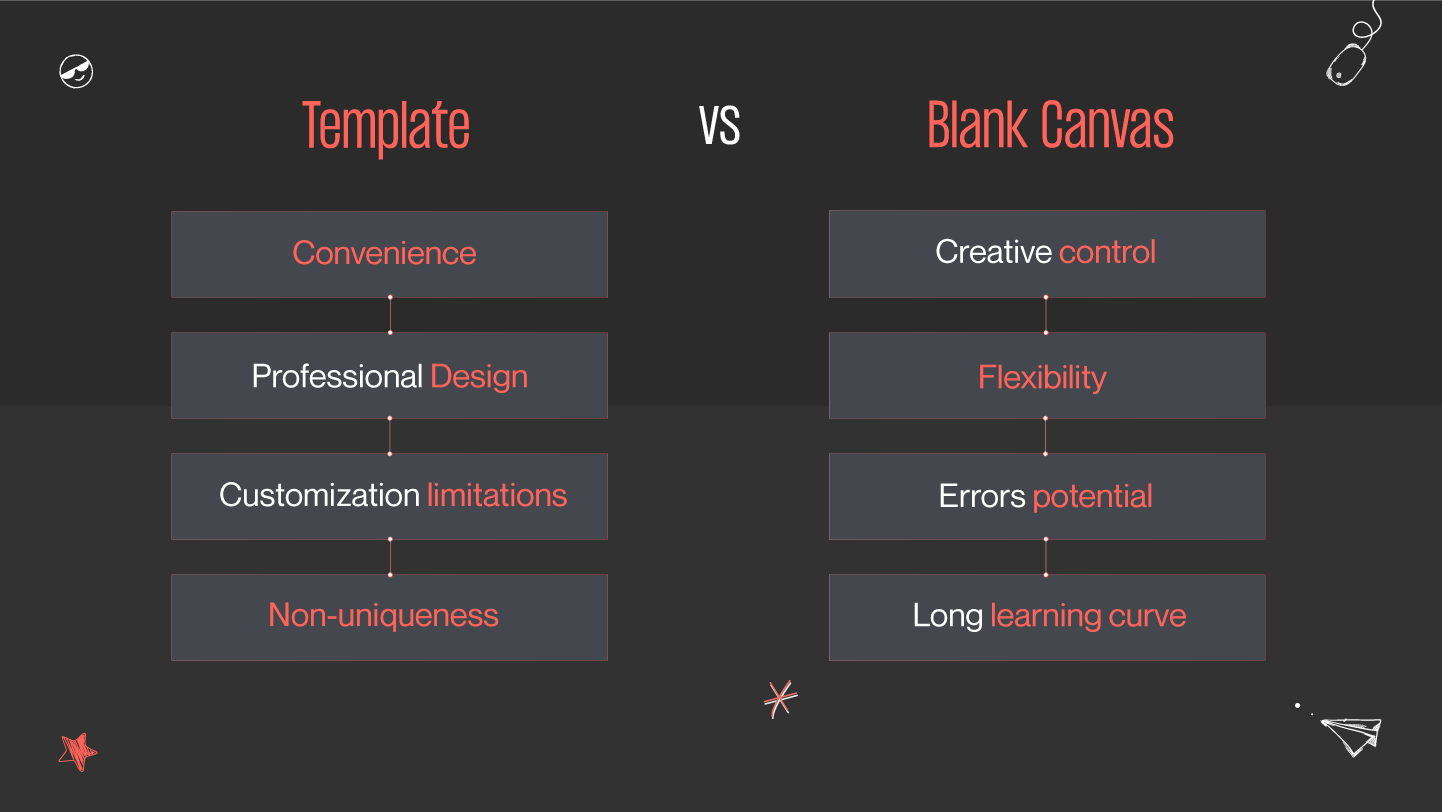
  • Convenience. Templates are pre-designed and have a structured layout, typography, and styles. They allow you to start your project quickly, saving design and development time.
  • Professional design. Webflow templates are often created by professional designers and developers, ensuring a polished and aesthetically pleasing design.
  • Functional elements. Templates often include helpful features like navigation menus, forms, and interactive components, which you can customize to your needs.

Template disadvantages

  • Customization limitations. While templates are customizable, you may face design flexibility restrictions and need to work within the template's structure and styles.
  • Uniqueness. Remember that templates are available to multiple users, so your site might look similar to others.
  • Branding consistency. You'll need to customize the template's colors, fonts, and content to match your identity to ensure your website aligns with your brand.
template vs blank canvas in webflow

Blank canvas advantages

  • Creative control. A blank canvas gives you complete creative freedom to design and structure your website exactly as you envision it, without any pre-existing constraints. 
  • Unique design. You can create a unique and custom UI/UX design that stands out from other websites. It is especially crucial for branding and differentiation.
  • Flexibility. You can build any type of website, from simple landing pages to complex e-commerce sites, with complete flexibility in design and functionality.

Blank canvas disadvantages

  • Learning curve. Designing from scratch in Webflow may require more time and familiarity with the platform, as you must manually create layouts, styles, and interactions.
  • Development time. Building everything from scratch can be time-consuming, especially if you need to become more experienced with web design and development.
  • Error potential. Creating a blank canvas website increases the risk of design and functionality errors without having any technical background.

Choosing between a template or a blank canvas when you create a website with Webflow depends on your project's requirements, design and development skills, and timeline. Choose a template if you need to launch your website quickly; you’re not a proficient designer or developer and want a professional-looking design without much effort. Choose to design from scratch if you have specific requirements you can’t achieve with a template, want a unique design, or want complete creative control over your site.

Look at the website design services we provide.

Add interactivity

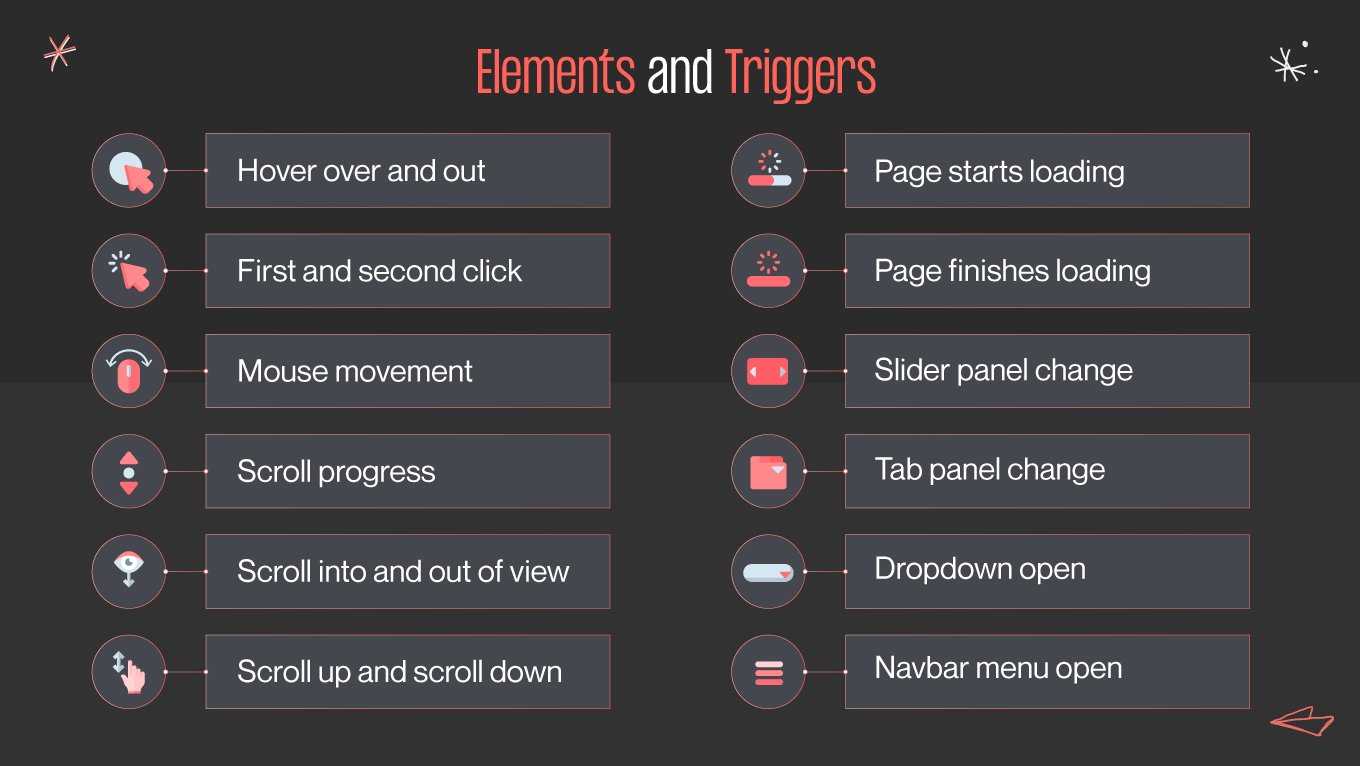
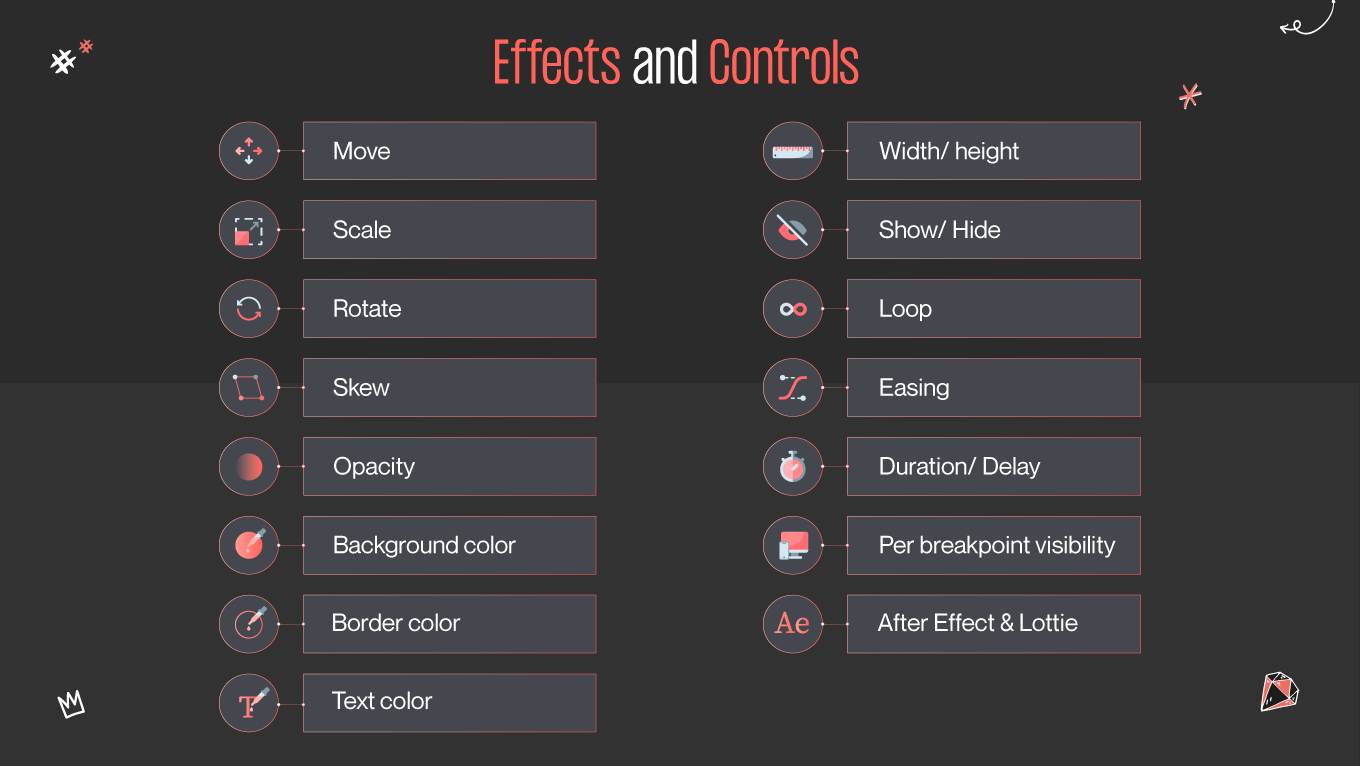
Webflow interactions are a powerful feature that allows you to create animations, transitions, and interactive effects on your website without coding. You can use the Interactions feature to make your website more engaging and dynamic.

elements and triggers to create a webflow website
webflow’s elements and triggers for interactivity

Interactive elements add life to the content when you create a Webflow website. They provide a visual and intuitive way to add interactivity to your website, making it more engaging and user-friendly. Whether you want to create simple hover effects or complex animations, Webflow's Interactions feature empowers you to bring your web design ideas to life without writing code. 

effects and controls in webflow
webflow’s effects and controls for interactivity

Integrate CMS

A content management system (CMS) stores and manages dynamic content such as blog posts, news articles, product listings, and more on your website. So how to build a Webflow site with CMS? Webflow provides a built-in content management system that allows you to create and manage structured content for your website. To use the CMS in Webflow, you'll need to host your site on a CMS hosting plan. If you aren’t a subscriber to a CMS hosting plan, you can do so by upgrading your Webflow account. 

The first step is to create a Collection. A Collection stores dynamic content in Collection items. After that, you can reference this dynamic content all over your website. Each Collection stores a different type of content (blog posts, products, team members, etc.). Collections offer a suitable place to store and manage this content as it follows the same structure. 

Then, you decide what kind of structure each Collection item will have. For example, if you create a Collection of “blog posts”, you might want to add a rubric, author, and heading for each one. You’ll add a Collection field for each type of content. Once you have your Collection fields in place, you can start creating Collection items by adding content. 

You can create and maintain dynamic content, building a website in Webflow without the need for external CMS platforms by using Webflow’s built-in CMS. It allows you to control your content and keep your site up-to-date.

Set SEO

Setting up SEO for your website is essential to improve its visibility in search engine results and attract organic traffic. Webflow provides tools and options to help you optimize your website for SEO. You can hire SEO experts or do research by yourself. It won’t be a problem if you have some understanding of your target audience. 

Building a website in Webflow can be challenging, but try to do your research. What are the phrases people use to look up topics relevant to your website? What questions can they ask that will bring them to your site? Start by analyzing competitors first if you encounter problems answering previous questions. It can help you get familiar with end-users' requirements. These keywords are a part of your success as they drive more conversions to your website. 

You may be interested in How to Create a Pop up in Webflow.

Now, you can start creating meta titles and meta descriptions for your pages. The meta title is the title that appears in search engine results. Make it concise and reflective of your site's content and purpose. The meta description is a brief, compelling summary that attracts users to click on your site when they see it in search results. 

SEO is an ongoing process. Regularly monitor your website's performance in search results, track keyword rankings, and update your content to keep it fresh and relevant. Again, a blog with regularly high-quality, SEO-optimized content attracts organic traffic. Don’t overlook your SEO settings because they are significant for the website’s visibility.  

Publish your website

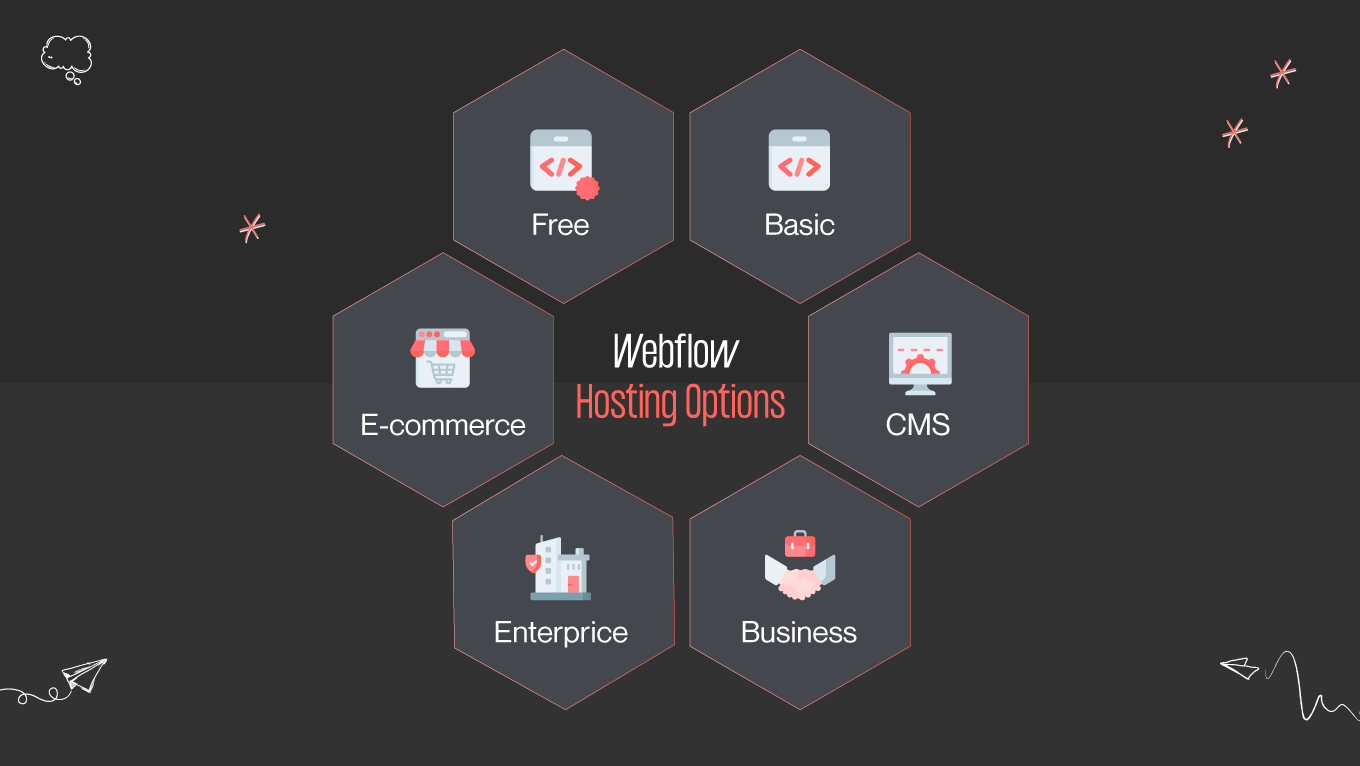
Webflow provides its hosting services, making the publishing process straightforward. Each hosting plan comes with different features and limitations. Look at the Webflow’s primary hosting options:

webflow hosting options
webflow hosting options for your website
  • Free hosting. It’s an excellent choice for small personal projects, portfolio sites, or sites that don't require advanced features. Features include hosting on a Webflow subdomain, SSL security, and basic SEO options. Free hosting is limited to a certain number of pages and project limitations.
  • Basic hosting. It’s suitable for smaller businesses and personal websites looking for a custom domain and more pages. Basic hosting includes custom domain hosting, unlimited pages, enhanced SEO settings, and site password protection. This plan is billed monthly or annually.
  • CMS hosting. It’s suitable for websites with dynamic content, such as blogs, news sites, and content-heavy projects. This hosting includes everything in Basic Hosting, plus access to Webflow's CMS, allowing you to create and manage dynamic content. It’s the best choice for websites with frequently updated content. 
  • Business hosting. This plan is appropriate for businesses, e-commerce sites, and large-scale projects requiring high traffic capacity and advanced features. It includes everything in CMS Hosting, priority support, advanced SEO options, and enhanced site security.
  • Enterprise hosting. It is a custom solution tailored to the specific needs of large businesses and organizations. It includes all the features of Business Hosting, additional customization options, dedicated support, and infrastructure scaling.
  • E-commerce hosting. Webflow offers specialized hosting plans for e-commerce websites that require features like product listings, shopping carts, and payment processing. These plans are fit for online stores and come with features such as inventory management, order processing, and product options.

Start with the plan that suits your current requirements and budget, and upgrade to a higher-tier plan as your website grows and demands more resources. 

Before you publish, ensure your website is fully designed, developed, and tested. Confirm all the elements, interactions, and content are in place and functioning correctly. You can make any changes in the Webflow Designer if you need to update text, images, design elements, or add new content. The Designer tool allows you to change and update your website without writing code or using external software. 

Check all the main industries Gapsy can create a digital product for.

Final Words

Building a website in Webflow offers a powerful and user-friendly solution for creating stunning, responsive, and feature-rich websites without extensive coding knowledge. We discussed the essential steps of the Webflow website-building process. Whether you're an experienced web developer or a complete beginner, Webflow's intuitive interface and extensive toolset make it accessible to all levels of expertise. 

The key to success in Webflow lies in practice and continuous learning. Don't hesitate to explore the platform further, explore the community forums, and seek out tutorials and resources to improve your skills. You'll be able to unlock Webflow’s full potential and create websites that truly stand out in the digital landscape as you become more proficient. 

If you are hesitant about your skills, the Gapsy team is here to assist you. Our designers can help you create the revolutionizing Webflow website. Gapsy’s approach will reimagine your vision of design. Check our projects on Dribbble and Behance and contact us!

Rate this article

20 ratings
Average: 4.9 out of 5

If you like what we write, we recommend subscribing to our mailing list to always be aware of new publications.

Do you have any questions? We tried to answer most of them!